Toyota FRONT Seat Jackers® 2008-2021 Land Cruiser 200 Series and Lexus LX570
Installation Instructions
Installation Instructions:
General Note: To help prevent cross threading during installation, we recommend verifying bolts and threads by taking the applicable bolts and threading them in by hand to the corresponding hole.
- Step One: Remove any plastic trim on the feet of your seat. Remove both front factory seat base bolts and loosen the two rear seat bolts but do not remove them (14mm socket).
- Step Two: Lift the front of the front seat by pushing back on the headrest or by asking a helper to sit in the back seat and gently pull the headrest towards them.
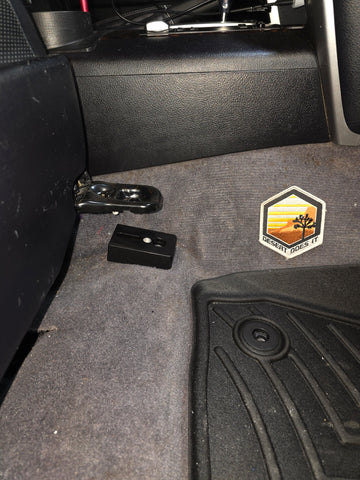
- Step Three: Place Seat Jackers under the front seat mounts.
- Step Four: With Blue Loctite, use the provided M10 socket head bolts to fasten the seat jackers to the floor of the vehicle. Before you torque the socket head bolts, line up the blocks so they are parallel to each other and so the seat centering pins drop inside the slot in the Seat Jackers. Torque socket head bolts to 30 ft lbs.
- Step Five: With Blue Loctite, use the factory bolts to fasten the seat to the seat jackers, finger tight only.
- Step Six: Torque two front bolts and two rear bolts to 30 ft lbs.
*IMPORTANT – IF THE SEAT RAIL HOLE DOES NOT LINE UP, LIFT UP THE SEAT RAIL .25 INCHES AND THREAD IN THE BOLT A COUPLE OF THREADS. IF NEEDED ADJUST THE SEAT RAILS ONE AT A TIME TO GET THEM LINED UP.
-Check bolt torque at regular intervals and don’t forget to post a review. -